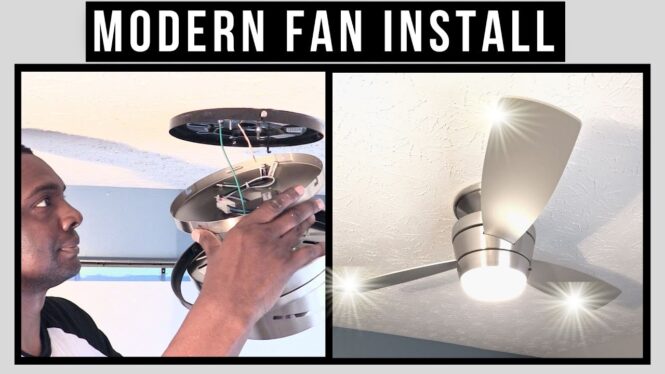
In this video, we’re going to show you how to
update your home with a new modern ceiling fan Hi! I’m Daires of DIY Power Couple and we purchased this 44 inch modern fan to replace
an old outdated pull and chain fan. My son and I also installed this retractable
blade modern fan in our kitchen. If you like fans I’ll put a link in the description so you
can check it out. Now, let’s get back to the video. To stay safe, make sure you turn off the
electricity before you begin working. For this project, we removed the
light kit and unscrewed each of the fan blades by loosening the inner screws. Then we use the wrench to remove
the fan motor from the ceiling. We opened the new fan box and took a look at
the instruction manual to see all of the parts that come with it.
If you want to see how to
install this trim ring, we’ll also put a link to our unboxing video in the description below.
But for this project, the first thing we did was place the mounting plate with the rubber pads
touching the ceiling over the existing opening… …and we use the old screws to secure it in place
since they already fit the ceiling fan holder bracket. Let me tell you, this is an important step
because the mounting plate holds the entire fan. It’s a good idea to make sure everything is
on tight.
You can see from my face that it’s hot and I’m thinking about the cool air
that’s going to come from this new fan. We removed two screws from the mounting plate.
One on the left side and one on the right side. Then we only loosened two screws on
the opposite ends of the mounting plate. When lifting the fan, make sure you
hang it on the round screw hole and not the half j-shaped hole
because it could fall to the floor. To make things easy on yourself, unwrap the wires
by untwisting the wire tie then separate the wires. First, connect the green mounting bracket wire
to the copper wire connected to the house. Twist them together and use an orange
wire connector to hold them tight. Then connect the white wire on the
fan with the white wire in the ceiling. Twist them together and use another
orange wire connector to keep them tight. Last, take the black wire on the fan
and twist it together with the red or black hot wire in the ceiling.
Then use a
third orange wire connector to hold them together. Hey guys, grab the fan motor with both
hands and remove it from the hook. Push the fan up towards the mounting
plate and ceiling, line up the open slots with the screws on each side of the
fan, and gently twist the motor into place. Completely tighten the open slot
screw with a Phillips head screwdriver. Then grab the screws you removed and fully tighten
both of them on the opposite ends of the fan motor. You can connect the trim ring by lining up the
tabs with the indented slots on the base of the canopy… just push it up towards the ceiling
until you hear and feel it snap together. Before you install the fan blades, turn the motor
to locate and remove the three rubber holders. Grab your fan blades and insert one into the
slot with the words “this side up” facing the ceiling and the silver side facing downward.
With the blade inserted, place the three screws inside of the three pre-drilled holes
so that they hold the blade in place.
Repeat this process for each of the three blades. Locate your led light plate
with the pre-assembled wires. Completely remove one of the three
screws that will hold it to the fan motor and only loosen the other two screws. Place the led light plate through the
screws and twist it so it stays in place then take the screw you removed and
with your Phillips head screwdriver twist it back on until it’s tight. And tighten the other two screws as well.
Take the white adapter plugs and insert them
together with the silver sides facing each other. Remove the plastic from the
light connectors, fully unscrew one of the light plate screws and
only loosen the other two screws. Connect the blue led wire to the blue panel wire… …and the white led wire to the white panel wire. Push the led light up and twist
it on the two screws you loosened. Then re-tighten the screw that was previously
removed as well as the other two screws.
The frosted light cover easily twists onto the
led light by lining up the indentions on the side. The Mazon fan comes with its
own battery for the remote. It also has a harness that you can attach
to the wall. Decide which side of the light switch you want it on, place the screw
in the top hole, and drill it in the wall. Make sure the bracket is level, Drill in the second screw, and
place the remote in the bracket. Now it’s time to turn on the electricity and test out the fan.
The remote has one
button that turns the light on and off. It also has three speeds to suit your comfort. To us, this fan looks like an
airplane propeller. What do you think? Let us know in the comment section. From the floor to the fan, we were able
to update this entire room for our son. As you can see, changing out the old
pull chain to this modern design looks much better. Thanks for watching
and we’ll see you in the next video. DIY Power Couple YouTube channel is your
source to help you unleash your inner DIY power..

