


Price: [price_with_discount]
(as of [price_update_date] – Details)

[ad_1]
144Hz Laptop to 165Hz Monitor: Unlocking a Superior Visual Experience
How to Connect, Get the Best, and Why Upgrade Your 144Hz Laptop to a 165Hz Monitor?
If you are a gamer or a content creator who is passionate about visuals, you know how crucial a high refresh rate is. A 144Hz laptop display is already a great choice, but upgrading to a 165Hz external monitor pushes the boundaries of your visual experience. In this blog post, we will explore different methods to connect your 144Hz laptop to a 165Hz monitor and illustrate the benefits of this upgrade.
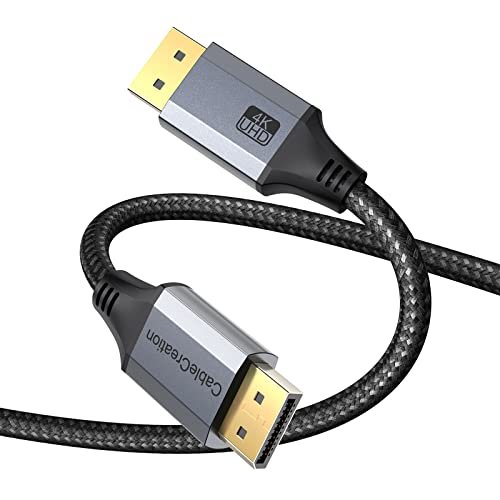
Method 1: HDMI vs. DisplayPort
The first method to connect your 144Hz laptop to a 165Hz monitor involves choosing the right cable. Most modern laptops and monitors come equipped with either an HDMI or DisplayPort interface. While HDMI cables can support high refresh rates, they are limited to a maximum of 144Hz at 1080p resolution. On the other hand, DisplayPort cables, particularly the newer versions like DisplayPort 1.4, can offer higher refresh rates up to 240Hz at 1080p resolution. Therefore, if your laptop and monitor support DisplayPort, this should be the preferred option to achieve the maximum 165Hz refresh rate.
Method 2: Adjusting Display Settings
After connecting your laptop to the monitor using the appropriate cable, you may need to adjust the display settings to take full advantage of the 165Hz refresh rate. Depending on your operating system, the steps may vary slightly, but the overall process is similar.
For Windows users, right-click on the desktop, select “Display settings,” and then click on “Advanced display settings.” From there, you can choose the monitor you connected and modify the display properties. Look for the refresh rate setting and select the desired 165Hz option.
Mac users can go to the Apple menu, choose “System Preferences,” and then click on “Displays.” Inside the Displays settings, select the newly connected monitor and navigate to the “Display” tab. Here, you can choose the refresh rate and set it to 165Hz.
Method 3: Overclocking the Monitor
If your laptop has a DisplayPort output, you may have the option to overclock your monitor to achieve a higher refresh rate. Overclocking allows you to push your monitor beyond its factory-set limits, providing a smoother and more responsive visual experience. However, it is important to note that overclocking carries some risks, such as the potential for increased heat generation and reduced lifespan of your monitor. It is advised to research your specific monitor model and follow manufacturer guidelines before attempting this method.
To overclock your monitor, you can access its on-screen display (OSD) settings by using the buttons located on the monitor itself. Navigate to the overclocking section and select the desired refresh rate, preferably 165Hz, if available. After committing the changes, make sure to test your monitor’s stability using various applications and games. If you encounter any issues, such as flickering or artifacts, it may be necessary to lower the refresh rate to maintain a stable experience.
Conclusion
Upgrading your 144Hz laptop to a 165Hz monitor is a surefire way to enhance your visual experience while gaming or creating content. By choosing the appropriate cable, adjusting display settings, and potentially overclocking your monitor, you can unlock the full potential of a higher refresh rate.
In summary, connecting your laptop to a 165Hz monitor involves using DisplayPort for the best results, adjusting display settings on your operating system, and, if available, overclocking your monitor. Taking these steps will enable you to enjoy the smoothness, responsiveness, and overall improved visual quality provided by a 165Hz refresh rate.
Remember, every experience may vary depending on your laptop and monitor models, so it is always a good idea to consult the manufacturer’s documentation and guidelines. With this knowledge, you are now ready to embark on a journey towards superior visual bliss. Good luck and happy gaming!
[ad_2]
