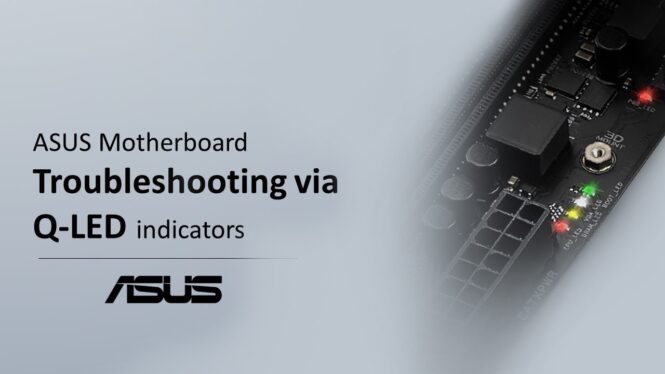
Welcome to watch the video of ASUS motherboard troubleshooting via Q-LED indicators Q-LED check for the key components. CPU, DRAM, VGA card, and booting devices will proceed in sequence during motherboard booting process When any of the key components on a motherboard is not properly functioning The corresponding LED remains ON until the problem is solved Before you begin , please check the below items How to find Q-LED indicator on a motherboard? Generally, Q-LED indicators are located at the upper right corner of the motherboard Next to the power supply 24-pin power. There are four LEDs To make sure whether your motherboard is equipped with Q-LED You can refer Product spec page for more details from ASUS Official Support site or user manual special feature Next, we will demonstrate the motherboard troubleshooting methods when any of these Q-LED indicators are ON You can either watch this video from the very beginning or fast forward to the parts where your problem lays Please follow the below steps to troubleshoot if CPU LED on your motherboard remains ON Remove the power cord before you start Four plastic pins are installed around the socket Simply rotate them in the direction indicated Pop them up and pull the CPU cooler off Remove the cooler carefully without pulling CPU out of the heatsink Press and release the retention arm on the side of the socket and lift the socket lid Next, hold your processor Be aware that touch the edges of the processor only and do not touch the contacts on the bottom Take the CPU out Then check and clean the CPU contacts if it’s dirty Next we should check whether CPU pins, on the socket are bent or not Please contact you retailer if the pin is found damaged There are two notches on both sides of CPU Please matches with the tiny nubbins in the corner of the CPU socket Put the socket lid back.
Put the retention arm under the hook on the side of the socket to lock your CPU into place Install your cooler back firmly and properly to the right position Press down on the opposing sets of pins until they fix into the place if the CPU LED still remains ON, please go to asus website to upgrade your bios to the latest version You also need to check whether your CPU is included in the CPU support list of ASUS product support page If not, please replace your CPU with the one on the CPU support list and try again If DRAM LED remains ON, you can follow the below steps Remove the power cord before you start. First, press down the tabs on either side of the memory slot. Remove the memory. Please check and clean the DRAM connecting finger. You also need to check and clean the memory slot if there is dirt. Install the DRAM back by matching the line of the notch on the DRAM with the notch inside the motherboard’s memory slot.
Firmly and carefully press the top of the DRAM stick down Until it clicks into place with a proper clicking sound If you find the DRAM LED is still ON after doing these troubleshooting steps Please replace your DRAM with the one on Memory support list from ASUS Product Support page. And follow the recommended memory configuration in ASUS user manual and try again Try to boot with only one memory installed, if using two or more memory reboot each time with an additional memory installed If the DRAM LED remains ON, it may be related to CPU as well Please watch and follow the troubleshooting steps for CPU LED in part A Please follow below steps to troubleshoot when you find the VGA LED remains ON Please make sure to remove the power cord before you start First ,we need to make sure the display output port is connected to display or the Add-on Graphics card Please try to re-plug HDMI cable into the On-board display port Clean and check whether there is dirt in the VGA card gold pins and PCIE slot Please reinstall the card And make sure the required PCI Express power are installed And then plug the video cable in If you find the VGA LED is still ON after doing these troubleshooting steps Please check whether your CPU supports On-board Graphics output If not Please change a CPU that supports On-board Graphics output Next we need to check the output signal of monitor For example , the output is HDMI port Please set to HDMI signal We can also try to re-plug the output cable or an Add-on card and try again If the VGA LED still remains ON, please also check the CPU LED part in this video as it may be related to the CPU Please try the following steps, if BOOT LED remains ON.

Go to the Advanced page in BIOS setup Check if the boot device is connected well and set in the first boot priority Remove the power cord before you start Check what type of boot device is connected. HDD , SSD or M.2 SSD. If the boot device is HDD or SSD. Please check whether the SATA cable is connected between motherboard and SSD. And also check the power supply cable. If boot device is M.2 SSD. Please remove M.2 SSD. Check and clean the gold pin and slot of M.2 SSD. Reinstall M.2 SSD back and make sure that M.2 SSD screw is locked. After trying these steps and the BOOT LED is still ON.
Please change your boot device and try again. Power on the system and all Q-LED boot pass. We hope the above steps can help your system boot successfully. Please subscribe our ASUS SUPPORT Youtube Channel We are keen to provide you with more useful information.

